Make your own graphene
make your own GRAPHENE
Objective:
Fabricate your own graphene samples with household materials and estimate their thickness with a microscope.
ESTimated duration:
30 minutes.
Materials:
- Graphite powder
Graphite powder is sold as a lubricant in hardware stores.
Also, the lead of your pencil is made of a mixture of clay and graphite. Choose a very soft one (the higher the number near the B, the better) for a higher concentration of graphite. - Tweezers
- Scotch tape
Choose a very transparent one (usually the ones that have the word “clear” in their name). - Optical microscope (at least 40x magnification).
If you want to estimate quantitatively the thickness of your sample, you should be able to take a digital photo of what you see in the microscope. - Gloves (optional)
FABRICATion:
Cut a piece of tape about 7 cm long. Fold over each one of the two ends so that you can hold the tape without sticking your fingers to it.
Lay the tape on the table so that the sticky face is facing upwards.
Use the tweezers to put few flakes of graphite powder on the sticky side of the tape. The fewer, the better!
Fold and unfold the tape between 7 and 10 times like in the video till you spread the graphite on most of the surface of the tape. The more you fold and unfold the tape, the flakes will become thinner, and then it will be more likely to find some graphene there! On the other hand, if the flakes are too small, it will be difficult to observe them with the microscope.
With a bit of luck, you will have some graphene flakes on your piece of tape!
Video from wikiHow.com
CHARACTERIZATION:
Stick your piece of tape on a microscope slide.
Start on one side and press carefully till reaching the other side to avoid the formation of bubbles.
Put the microscope slide in the microscope.
It’s better if you place the slide with the graphene side upwards: it’s usually easier to focus the samples this way. You don’t need to remove the tape.
Observe the image.
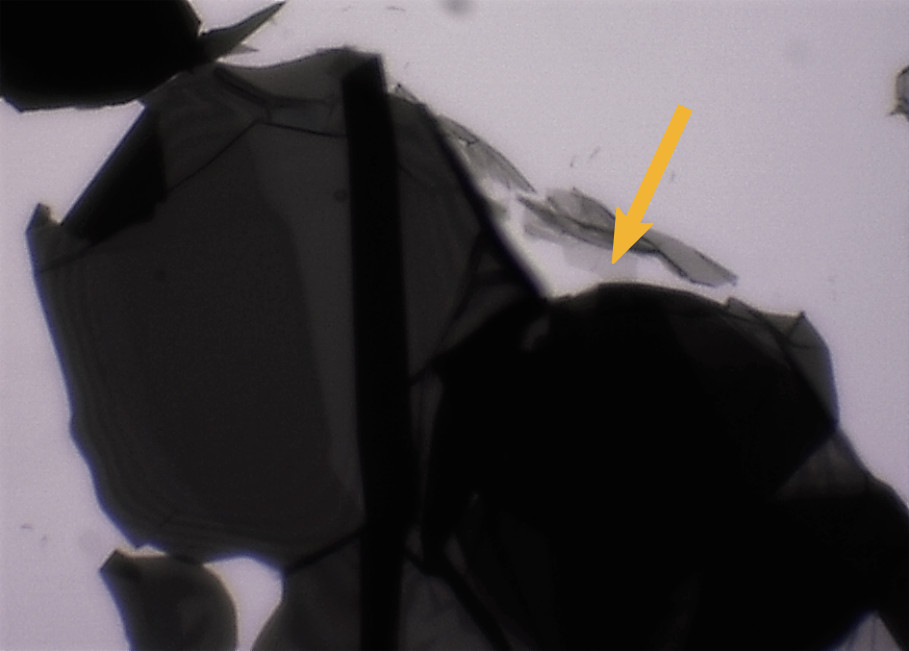
The polygonal areas with uniform filling are graphite flakes: the lighter they are, the fewer layers they have. Look for the lightest regions, like the one marked in the picture: graphene absorbs only 2% of the light.
Don’t be fooled by the bubbles (they are usually rounded and with darker borders) or imperfections of the glass or the tape (they look like scribbles).
If you want to try to estimate how many layers of graphene you have in your sample, contact us at outreach@icfo.eu and we we’ll explain you how to do it step by step.

Go on exploring:
Now you have your own sample of graphene: congratulations! If you want to take an extra step, there are still many questions left that you can try to answer on your own: here are some examples.
- What’s the material (e.g. kind or brand of pencil) that gives you the best samples?
- Is there a better tecnique to fold and unfold the tape to fabricate good samples? For example, is it better to fold/unfold the tape quickly or slowly? Is the number of times you fold important?
- Is this method useful for industrial applications? Why?

WHY IS it INTERESTING?
This method is very similar to the one that led Andre Geim and Kostantin Novoselov to isolate graphene and to demonstrate its properties in 2004, experiment that earned them the Nobel Prize in Physics in 2010!
Scientists at ICFO fabricate graphene with a similar method when they want to obtain graphene of the best quality for their experiments.

Let’s do it together:
If you have doubts about the activities, feel free to contact us to ask us some questions.
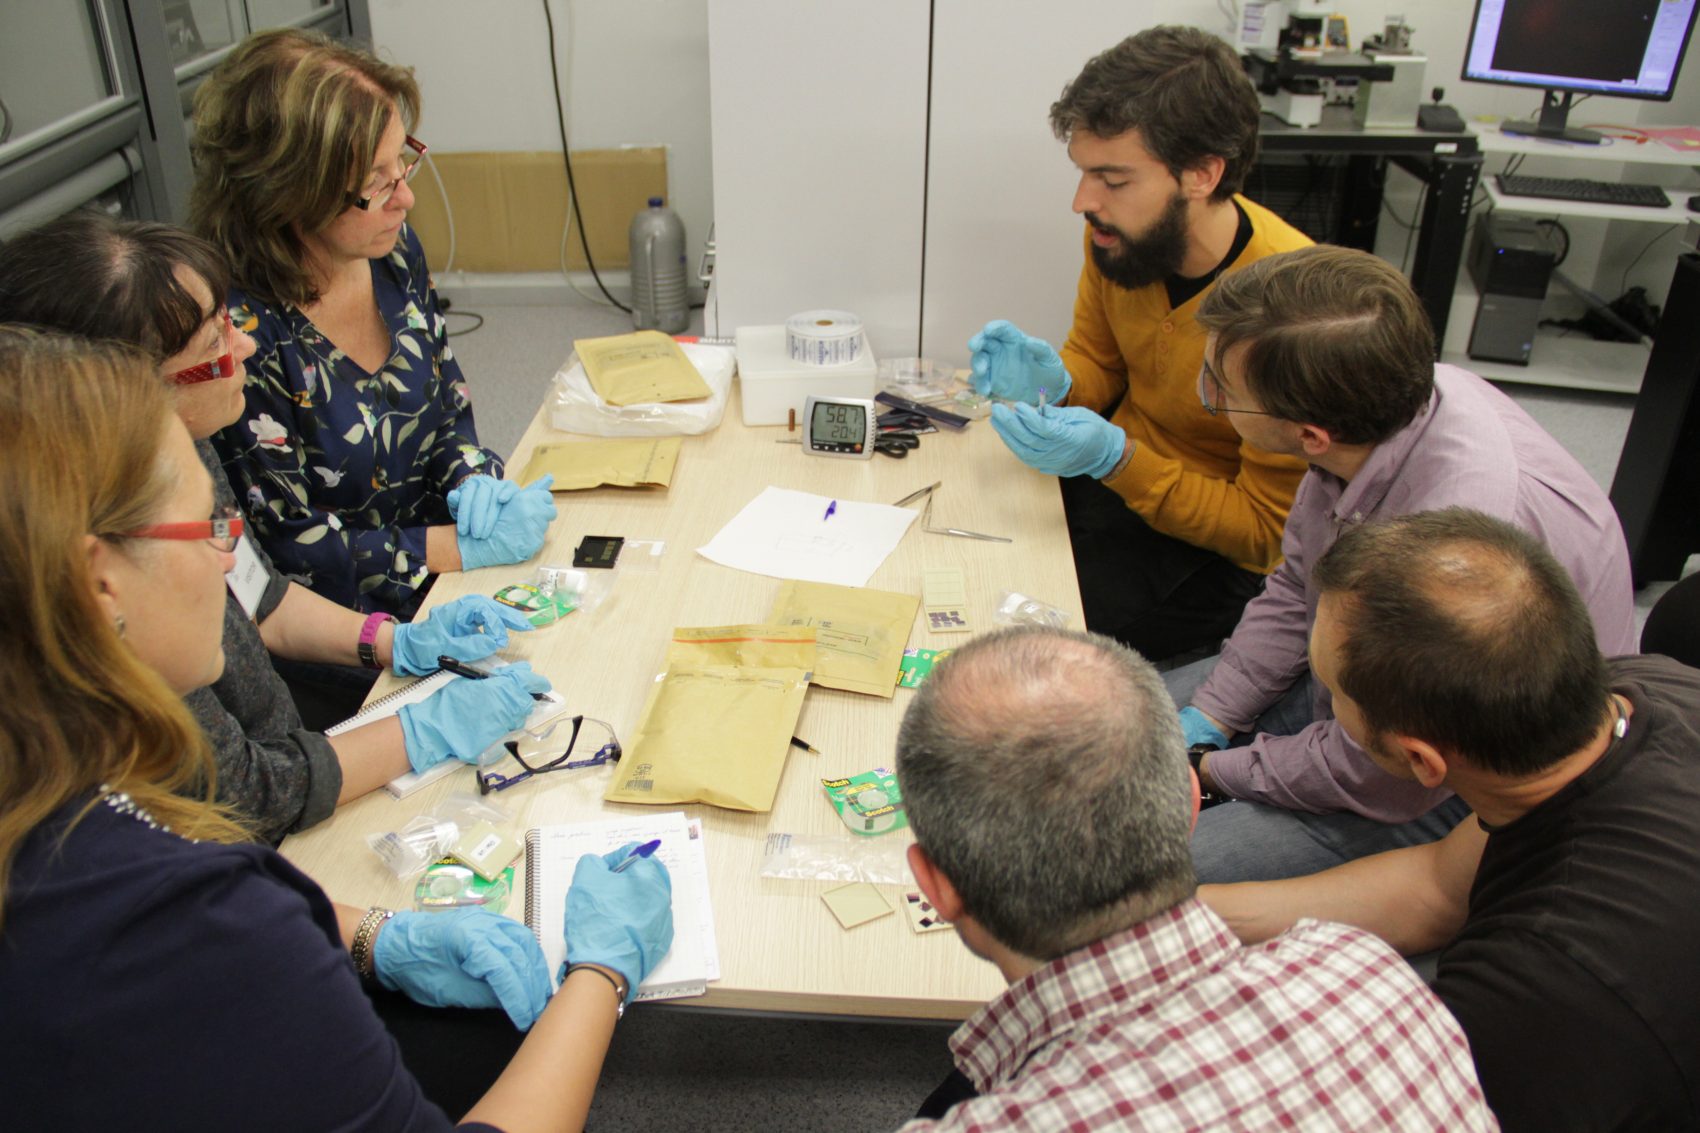
If you prefer to do this together, ICFO regularly organizes workshops for small groups of students to teach how to fabricate and characterize graphene. We also occasionally train teachers or bring this workshop to fairs.
Share the experience:
We are curious to hear from you how was your experience with graphene fabrication. You can do it many ways:
- share it on social media tagging @ICFOnians;
- apply to the Young Photonics Congress to showcase your work;
- fill in this feedback form.
RELATED PROGRAMS
ICFO Decide Game
An engaging group activity to discover ICFO and photonics
ICFO MACIEJ LEWENSTEIN QUANTUM SCHOOL FOR TEACHERS
Spark your secondary school students’ interest in physics and quantum technologies

